Converting '62 Temp
Gauge to Autometer
The water temperature gauge on our '62 has been acting strange for some time.
When you are cruising along at a steady speed the gauge normally stays at a steady
180°, but sometimes it will drop down to about 160° or rise to about 210°, stay
there for a few minutes and then return to 180°. When we drove the car to Corvettes@Carlisle this year (2016) we hooked up the
laptop computer to the fuel injection system to check the temperature of the sender for
the fuel injection system against the original gauge. There are separate senders for
the gauge and the injection system. The gauge was still up to its old fluctuations,
but the injection system stayed at around 190°-200°.
The engine has a 190° thermostat.
I have tried different sending units and even added a rheostat in the line to
“tune” the gauge to the correct temperature, but I still get erroneous readings.
I decided to try removing the guts from the original gauge and replacing them
with the internal mechanism and sender from a new Autometer gauge.
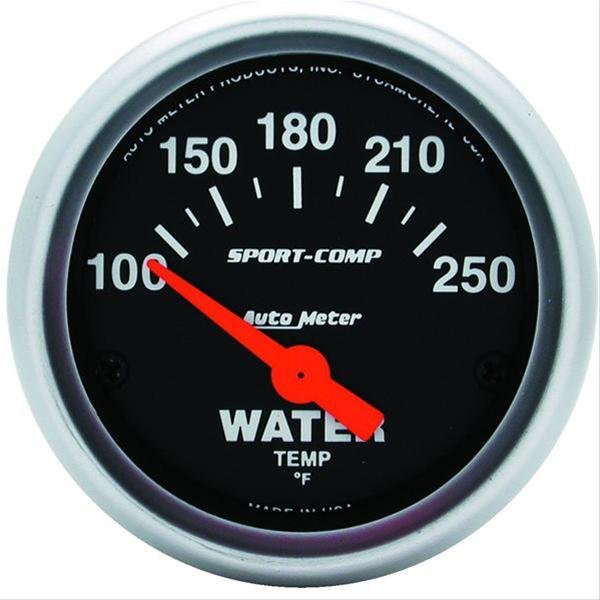
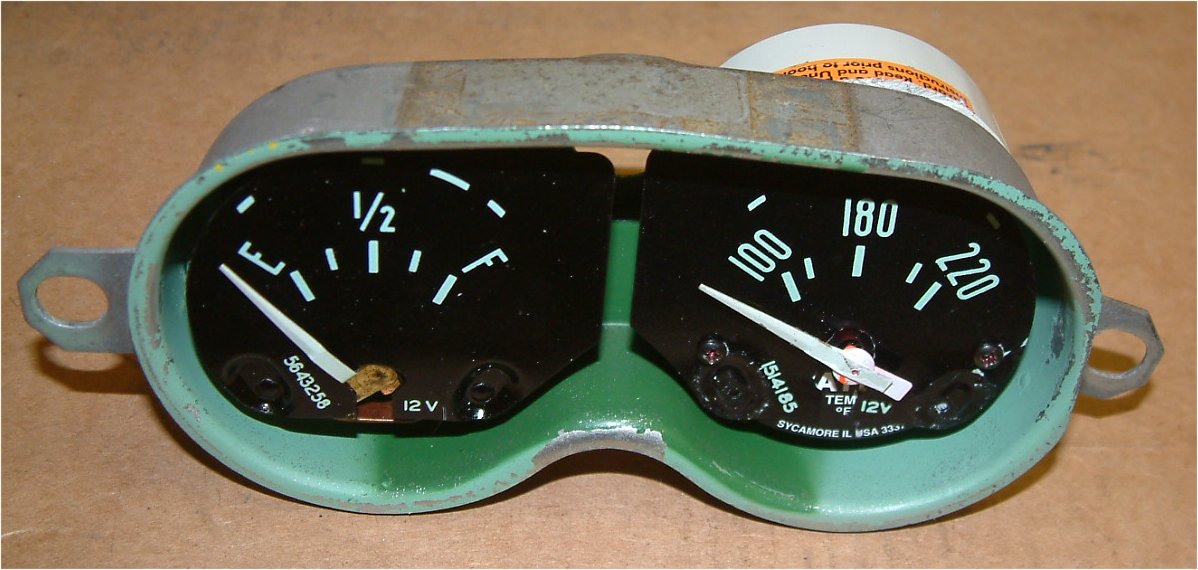
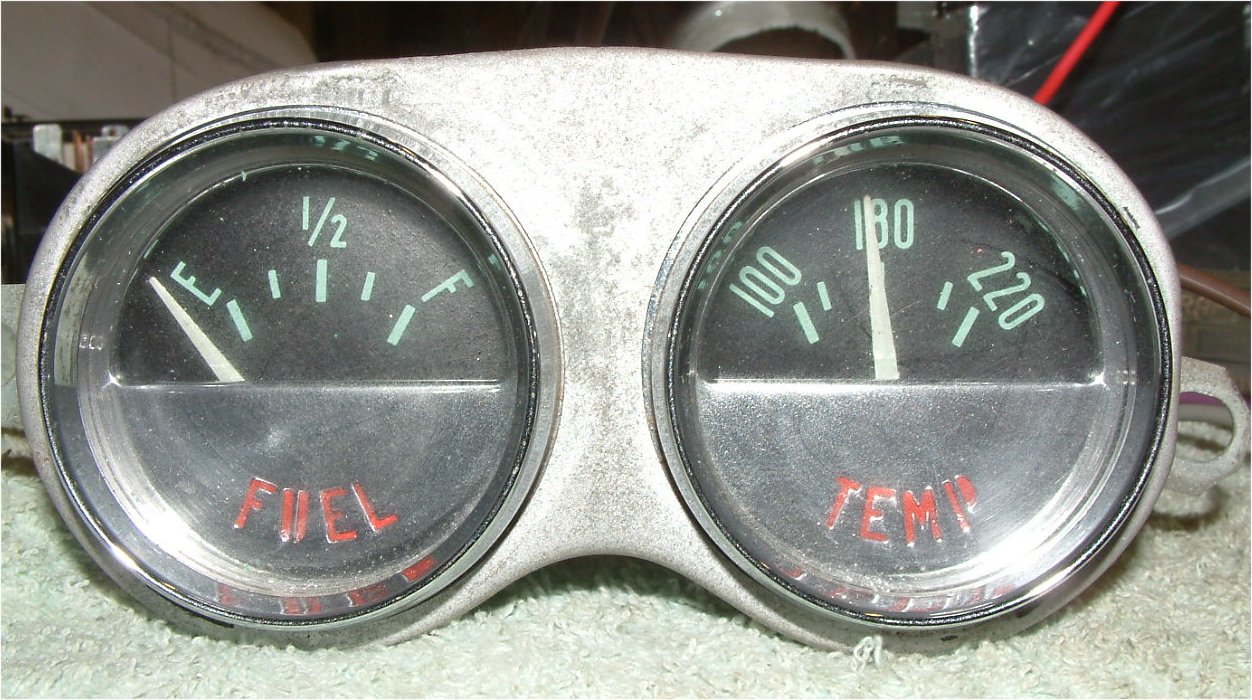
Autometer gauge
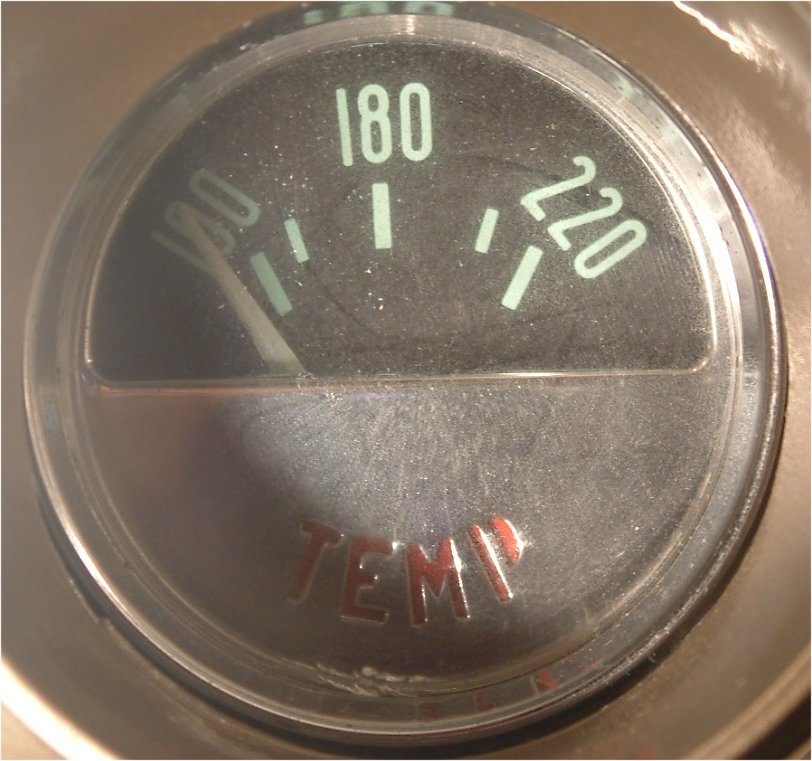
Original gauge
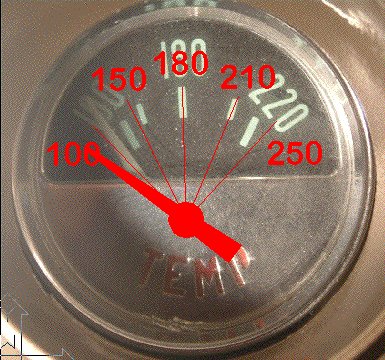
If you superimpose the face from the Autometer gauge (shown in red) on top of the original gauge you can see that 150, 180, and 210 marks on the Autometer gauge correspond very closely to the marks on the original gauge. So my plan was to remove the original gauge, take out the old internal mechanism, and replace it with the new Autometer internals.
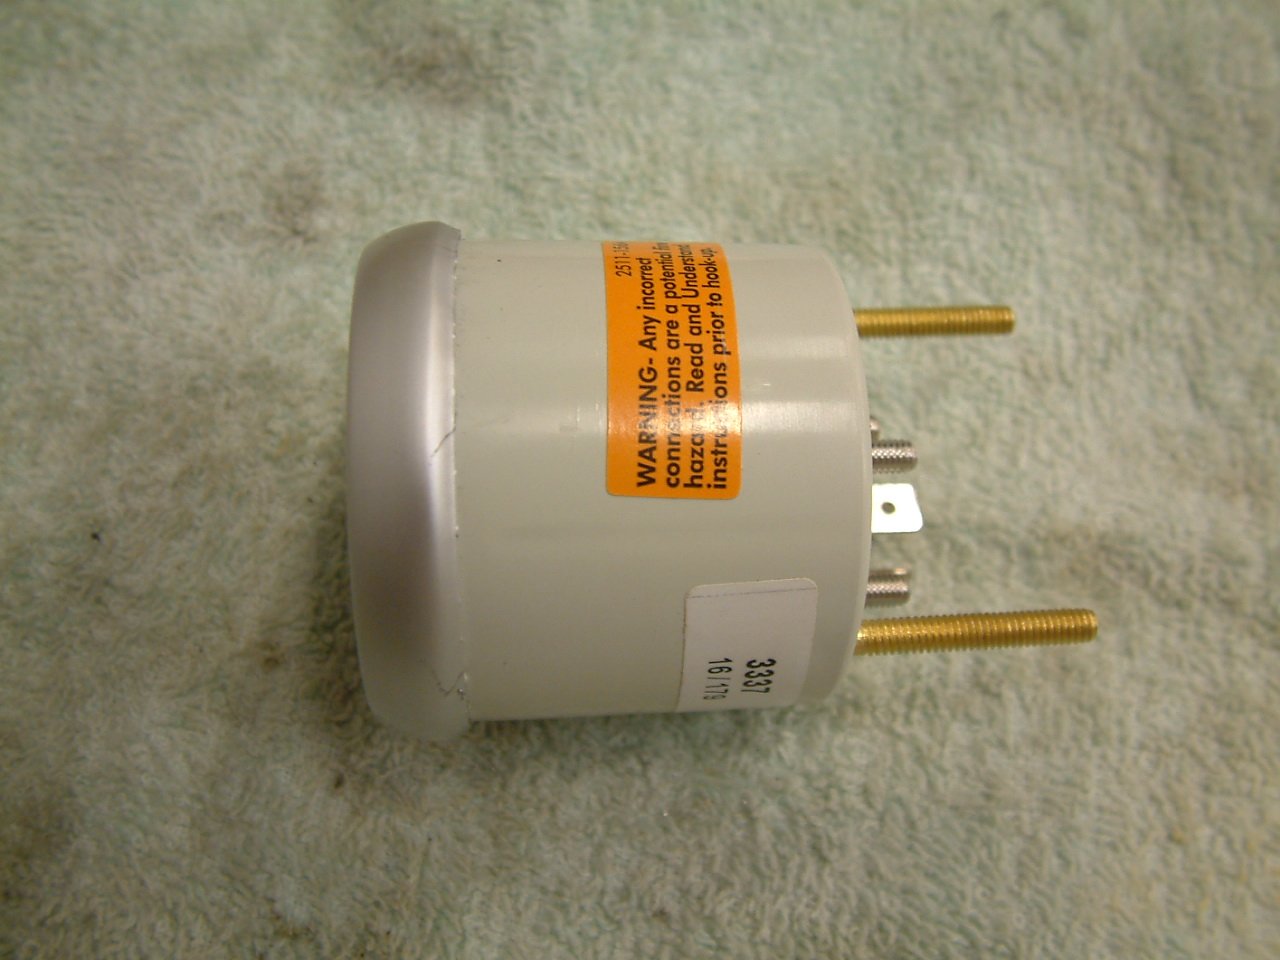
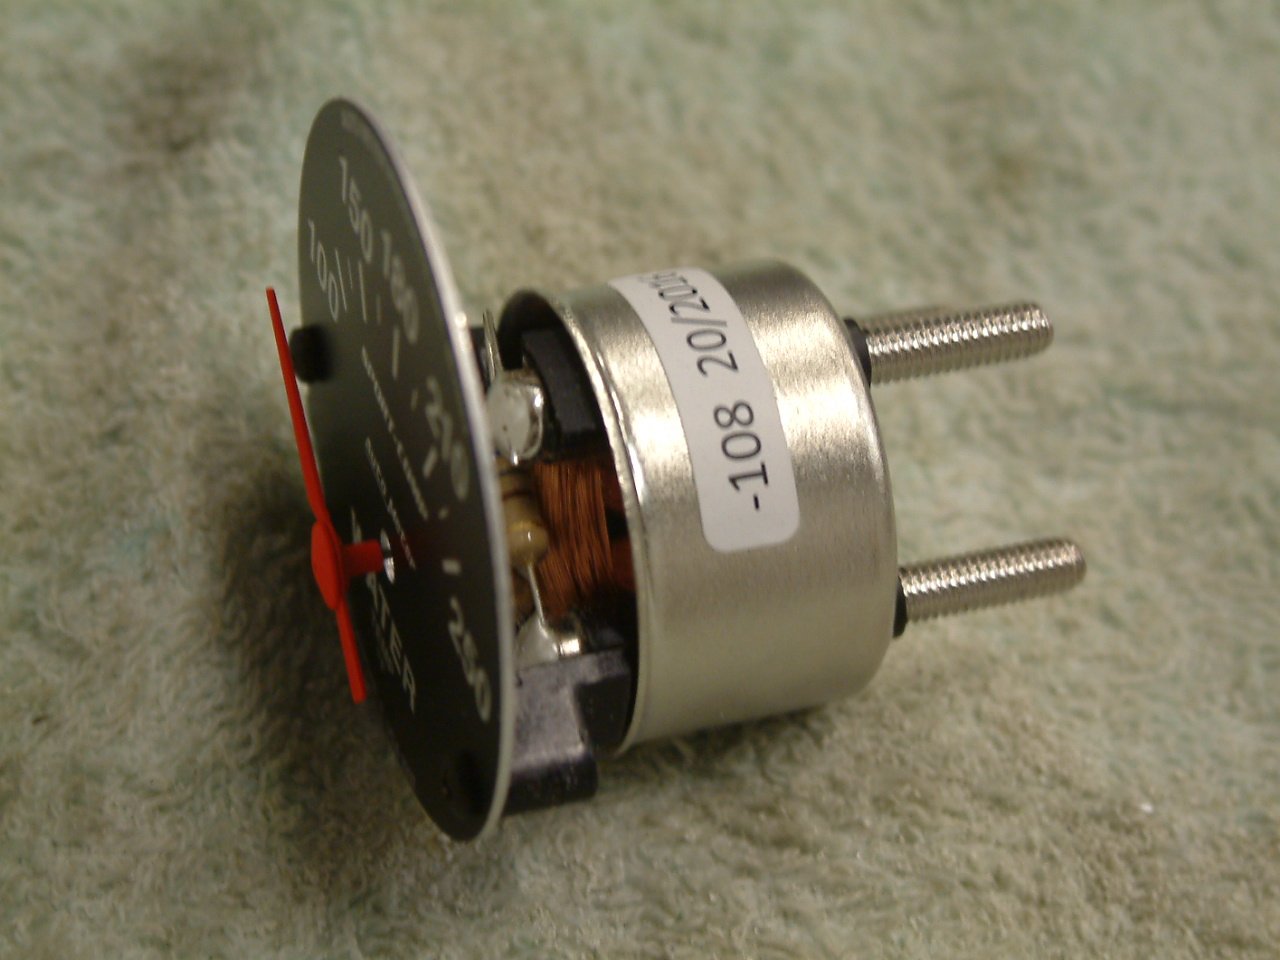
The new Autometer gauge The inside of the Autometer gauge
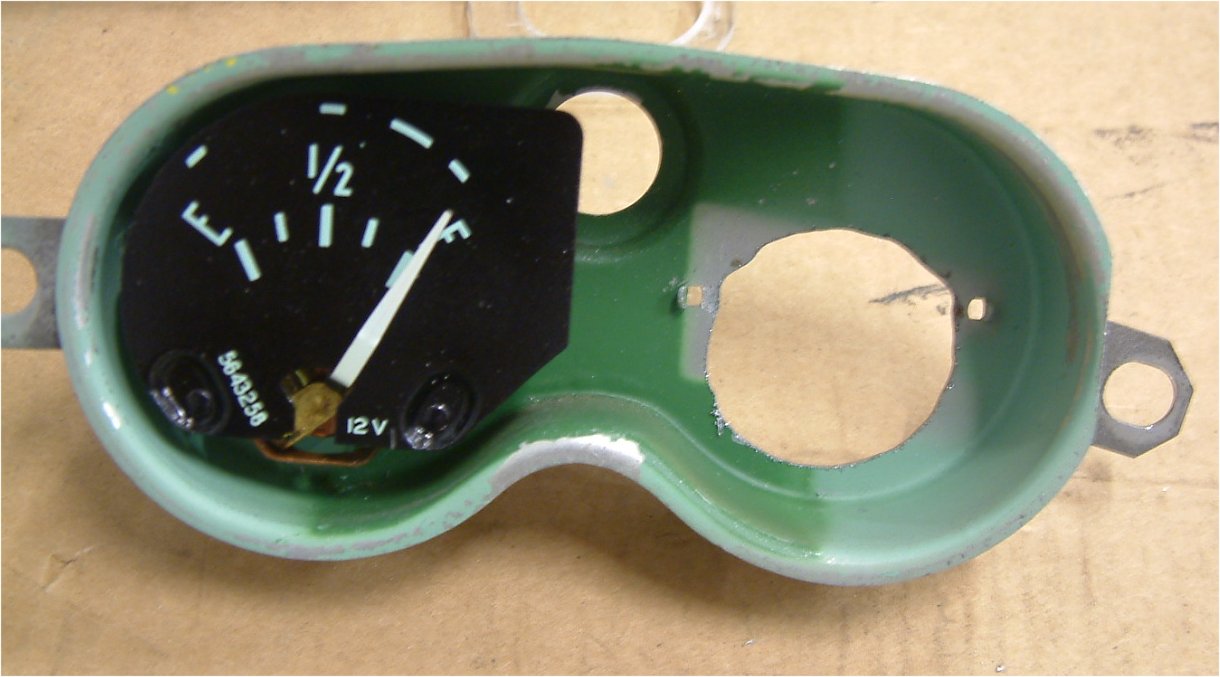
The first problem to solve is that the metal case inside the Autometer gauge is too deep to fit inside the old gauge pod so the first thing is to cut a hole in the gauge pod so that the Autometer gauge will fit.
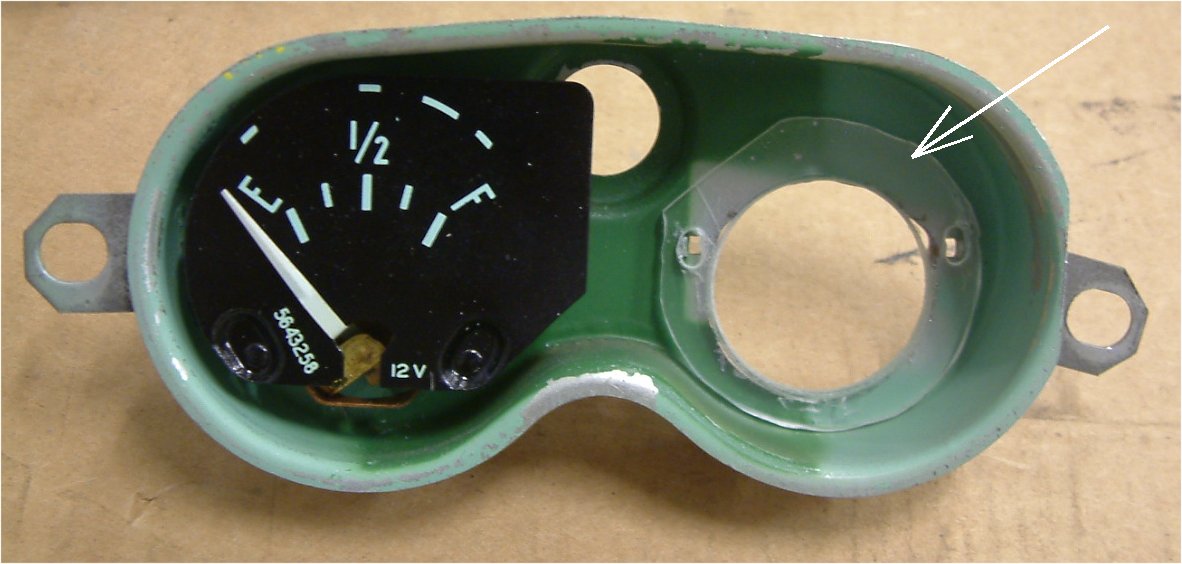
I added a spacer (white arrow in the picture above) so that the new gauge face would be even with the fuel gauge face. The Autometer gauge came with a plastic case so I made the spacer from 1/8" Plexiglas since I wanted to insulate the metal guts of the Autometer case from the gauge pod.
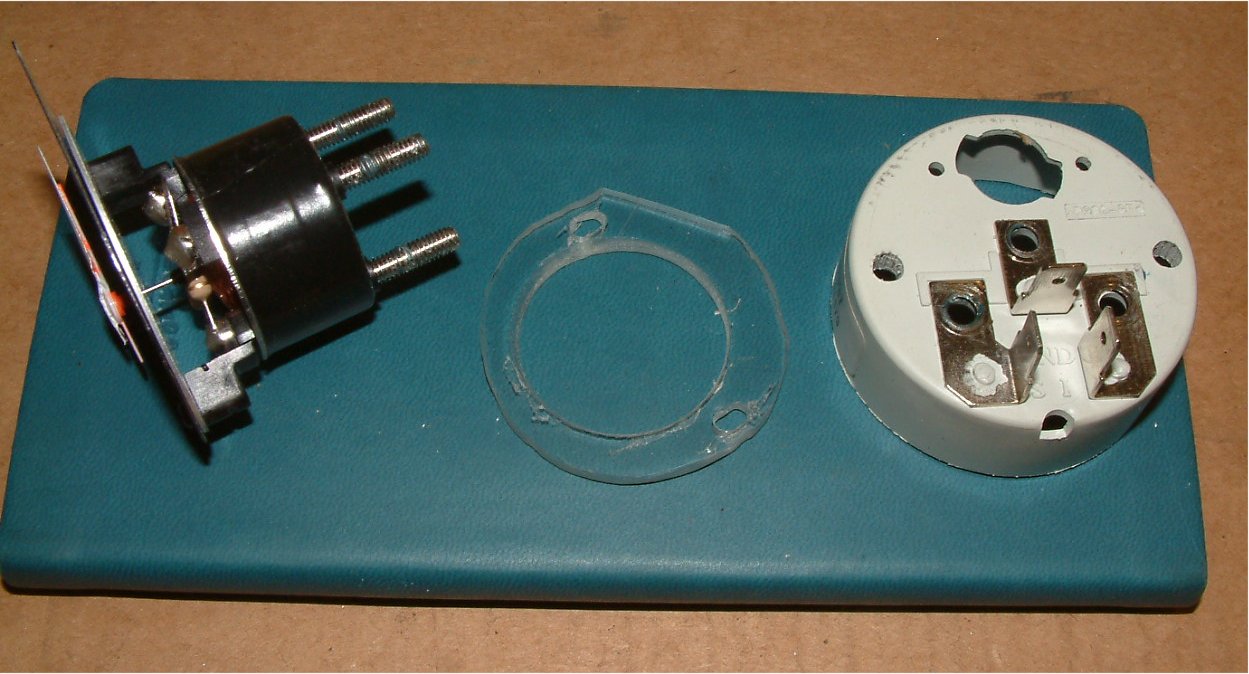
I also wrapped the inside metal case of the Autometer gauge with tape for further insulation and I cut down the plastic case of the Autometer gauge so that it would hold the gauge inside the gauge pod.
I used the original temperature gauge face by screwing it on top of the Autometer gauge face using the Autometer screws. I also used the original gauge pointer by gluing it to the Autometer pointer.
Here is the completed gauge pod